Install
Here is a short youTube video, which shows how to remove a pick guard:
Removal Video
Here is one for installation, using the “wet” method:
Installation Video
Use the water at your own risk. I use the dry method, with the same type “tape hinge”. I work the guard down, starting at one side of the guard, and slowly working to the other side. This helps to avoid trapping air bubbles. Without the water, any trapped bubbles are very hard to deal with.
_________________________________________________________
_________________________________________________________
Making a Pickguard Template.
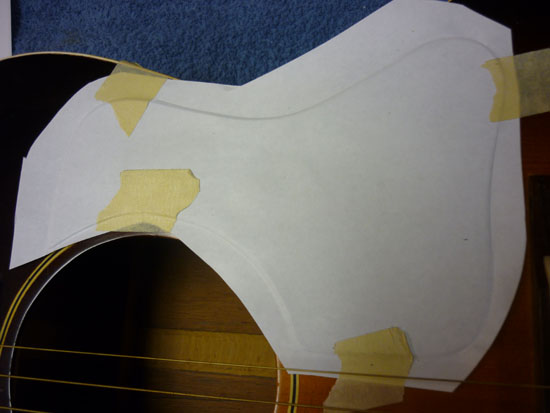
This is an easy way to make a template if your old pickguard is still on the guitar. You will need to remove the bottom two strings from your guitar. Take a thin sheet of copy paper and cut it out about ¼” larger than the pickguard. The example shows a similar pickguard laying on the paper to give you an idea of your starting point.
 Tape the paper with masking tape so that it covers all edges of the original pickguard. You want the paper secured so that it will not slip when you are tracing. Be careful if you are working with an old vintage finish. The tape may pull some of the finish off when you remove it. The low tack blue tape would be best in this case.
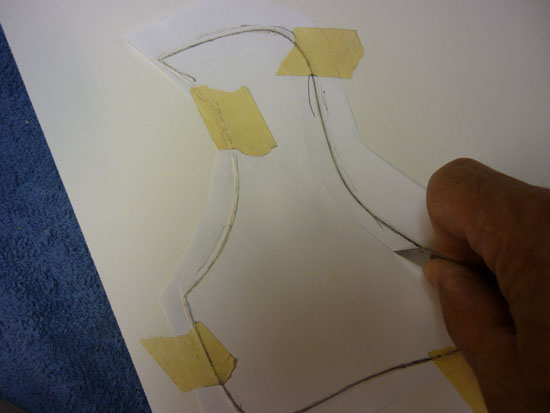
 Once the paper is secure, rub the edges of the pickguard with your finger to get a crease in the paper with the outline of the pickguard. You can also use your fingernail to make the outline clearer.
 Once you get the outline all the way around the pickguard, take a crayon, or a pencil with ¼” of lead exposed, to make the outline permanent. While holding the crayon or pencil at an angle, rub it around the edges of the pickguard making a permanent line as your cutting guide. Be careful not to let the tip of the pencil scratch the guitar’s finish.

 Once the outline is complete, carefully remove the paper from the guitar, leaving the masking tape on the edges of the paper. Tape the paper outline to a piece of regular poster board. You could also use cardboard from a file folder, or even a cereal box. Don’t start cutting yet. When you cut through the tape around the outside of your paper outline, it will be impossible to keep it from slipping, Take a razor blade and cut the center of the paper away, so that you can tape the paper to the cardboard, staying inside the pencil lines that outline the original pickguard. Now the paper outline will not slip while you are cutting the cardboard template.

 After you have finished taping the paper to the cardboard, cut out the pattern with scissors, staying just on the outer edge of your pencil line.
 After you cut it the first time, lay the pattern on the original pickguard and make sure that is covering all of the edges. After you have checked the fit, you can do any final trimming that is needed. It is important that none of the original pickguard is showing beneath your new template. If it is undersized, the tracks from the original pickguard will show after installing the new one. If you miss, miss a fraction to the outside.
 Remove the paper pattern from the cardboard and recheck the fit. Take a pencil and mark the direction that you want the fire stripes on your new pickguard.
email is:
jtb@guitarjtb.com
Fire stripe pick guards
Firestripe
Tiger stripe
Tigerstripe
Gibson
